Data analysis with ProjectTemplate in RStudio with Git
TweetAbstract
ProjectTemplate is a system for organizing and automating data analysis in R. Here is a recipe for creating a new ProjectTemplate project in RStudio and initializing version control with Git.
Order of Operations
I find that the following sequence is most efficient and error-proof:
- Create ProjectTemplate project
- Create RStudio project from directory created in Step 1
- Create a new Git repo at GitHub (or some other git hosting service)
- At command line, initialize git repo, add files, commit, and push to remote host
- Restart RStudio
Create ProjectTemplate project
At the console in RStudio, type
library('ProjectTemplate')
create.project('letters')
This will create the folder letters in your working directory with the ProjectTemplate file
structure. The create.project() command also changes your working directory to this new
ProjectTemplate project directory.
Create RStudio project
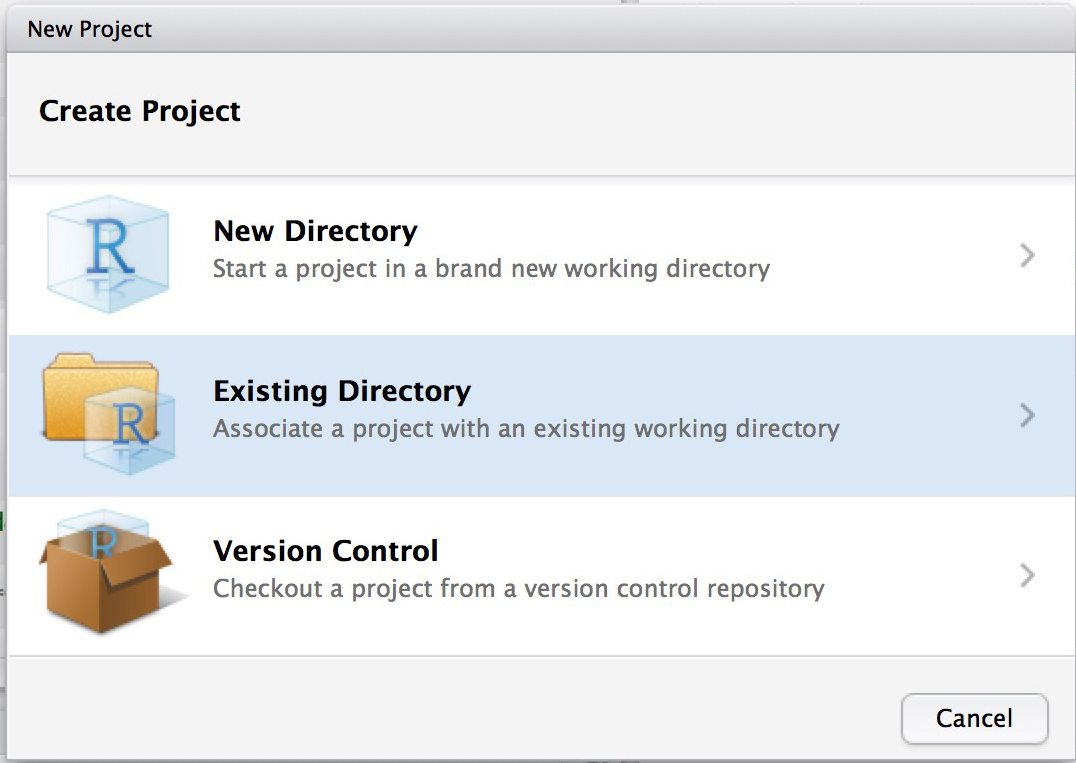
Select New Project... from the File menu in RStudio. In the New Project dialogue, select
Existing Directory:

Browse to the newly created directory (letters in the example) and click Create Project.
A new sesson of RStudio will open and the new project will be loaded. (Note that the Git pane
within RStudio will not be available until after the final step.)
Create a new repo at Github
Create a new repo at Github. In the current example, it would be named “letters.” Do not add any files (such as a README, .gitignore, or license) to the repo when creating it.
Initialize git repo and push to remote host
At the command line inside the project directory, type the following commands to initialize the git repo, add the newly created template files, make your first commit, and push the commit to the remote host. (Note that you will need to fill in your username and replace the repo name.)
git init
git add .
git commit -m "initialize project"
git remote add origin git@github.com:username/letters.git
git push -u origin master
Restart RStudio
The final step is to restart RStudio. The Git pane will appear automatically, and a .gitignore
file will be added to your project. (I generally add the cache directory to .gitignore.)